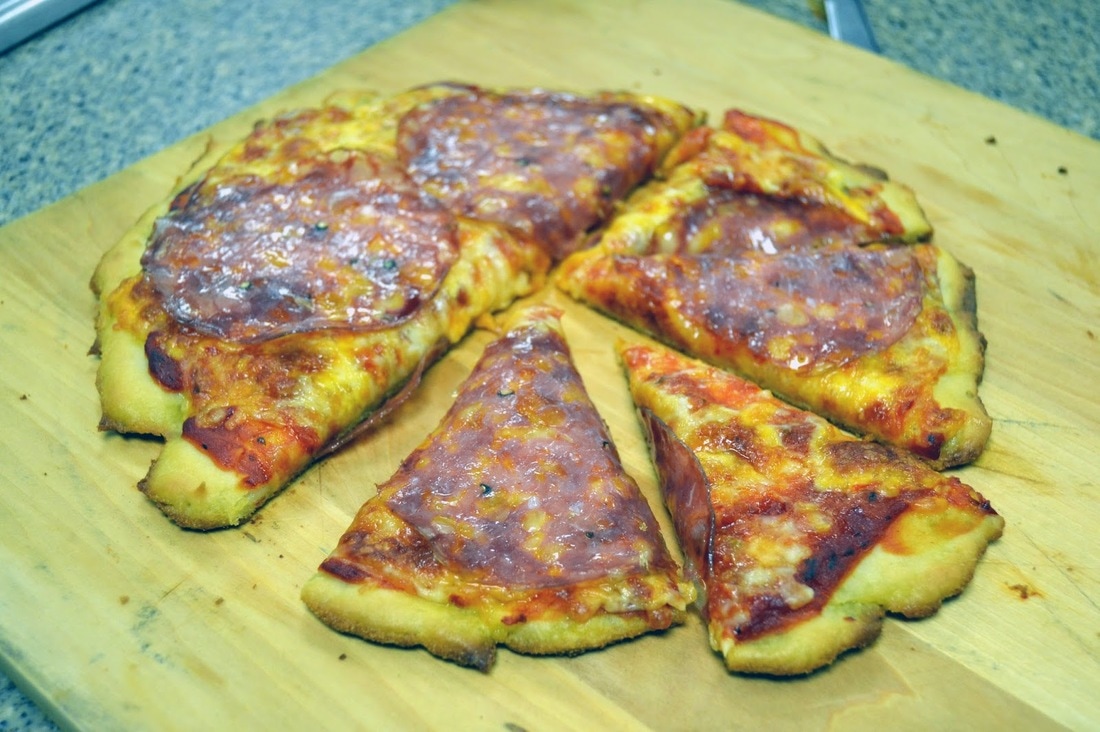
For those of you who must eat a gluten-free diet, The Cooking School at Jungle Jim’s International Market decided to follow the step-by-step directions on King Arthur’s blog for making gluten-free pizza. We frequently receive calls asking about gluten-free classes and have responded by offering a variety of demonstration and hands-on classes for our students who need to adapt to a new way of cooking and baking. The gluten-free selection of products in our Natural Foods section is outstanding and we carry the King Arthur Gluten Free Multi-Purpose Flour. Everything you need to make the pizza crust can be located in the American grocery or Natural Foods sections of the store. Be forewarned – this will take more time to make than a traditional pizza crust, so plan accordingly. Our gluten-free pizza-lover on staff really liked this pizza and said it was as good or better than anything she had tried in restaurants. So if pizza has been off-limits, give this a try. We all enjoyed it!
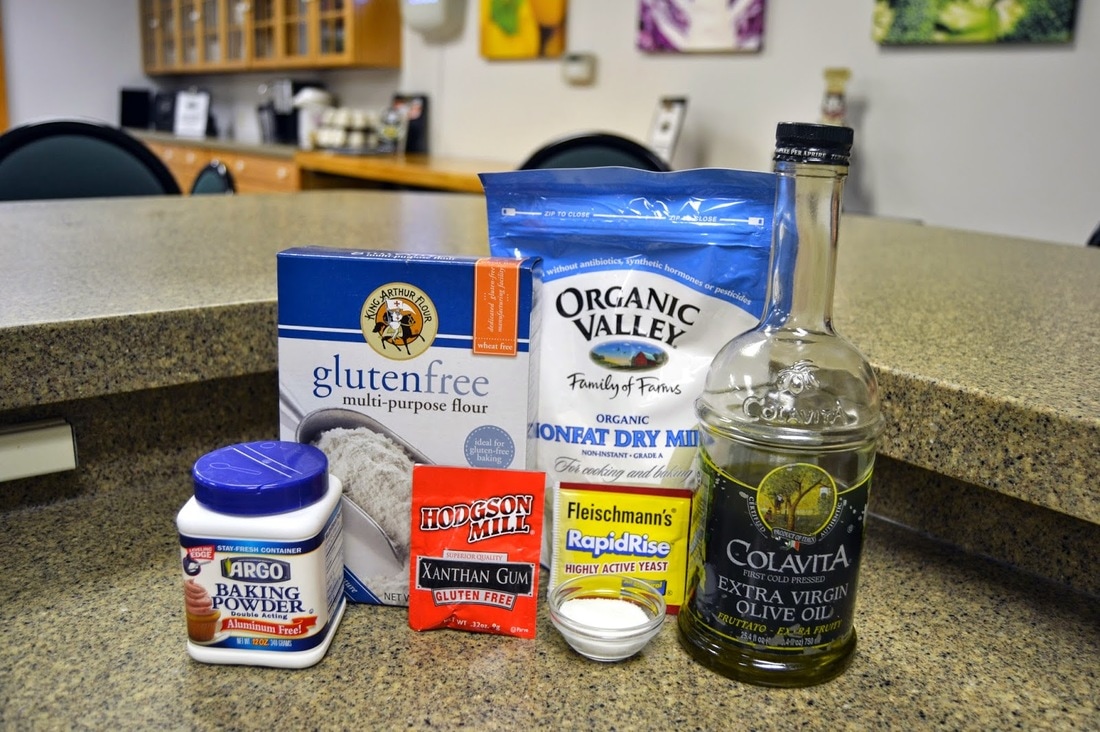
Assemble your ingredients. Xanthan gum is now sold in individual packets, like yeast is sold, so you don’t have to buy a large bag. Make sure your yeast is fresh and use aluminum-free baking powder to avoid a tinny taste.
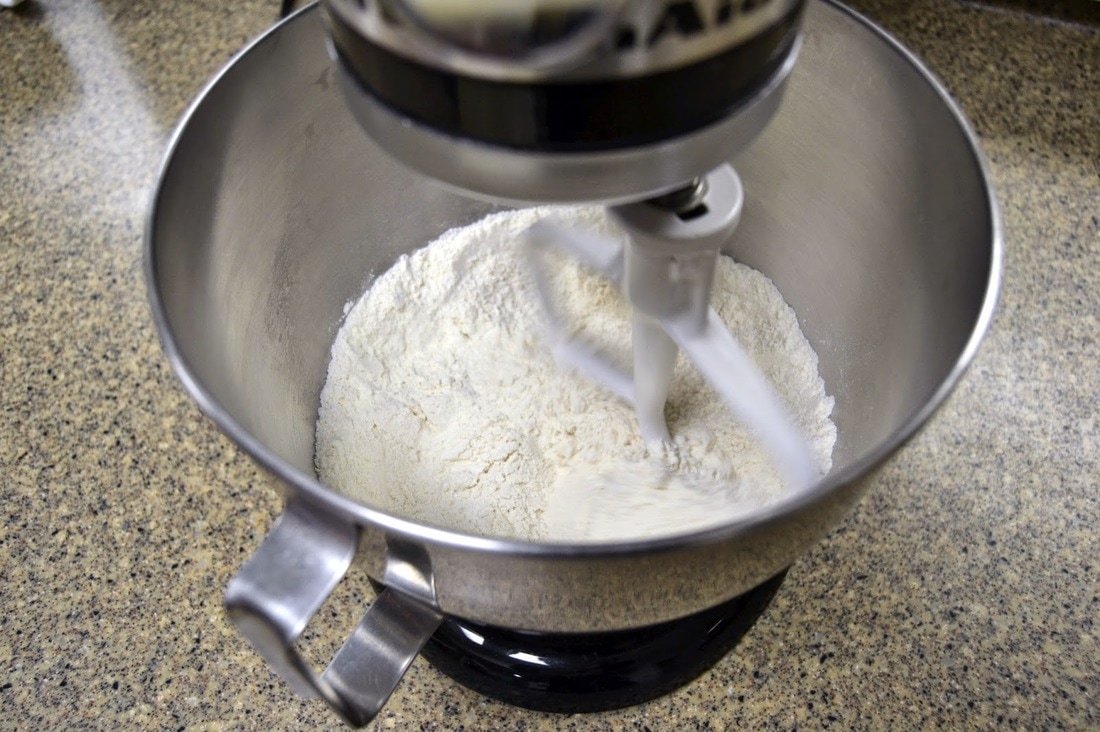
Note: You must use a stand mixer or electric hand mixer. Mixing by hand doesn’t do a good enough job. Place the dry ingredients (except the yeast) into a large mixing bowl. Just use the bowl from your stand mixer. Mix until completely combined.
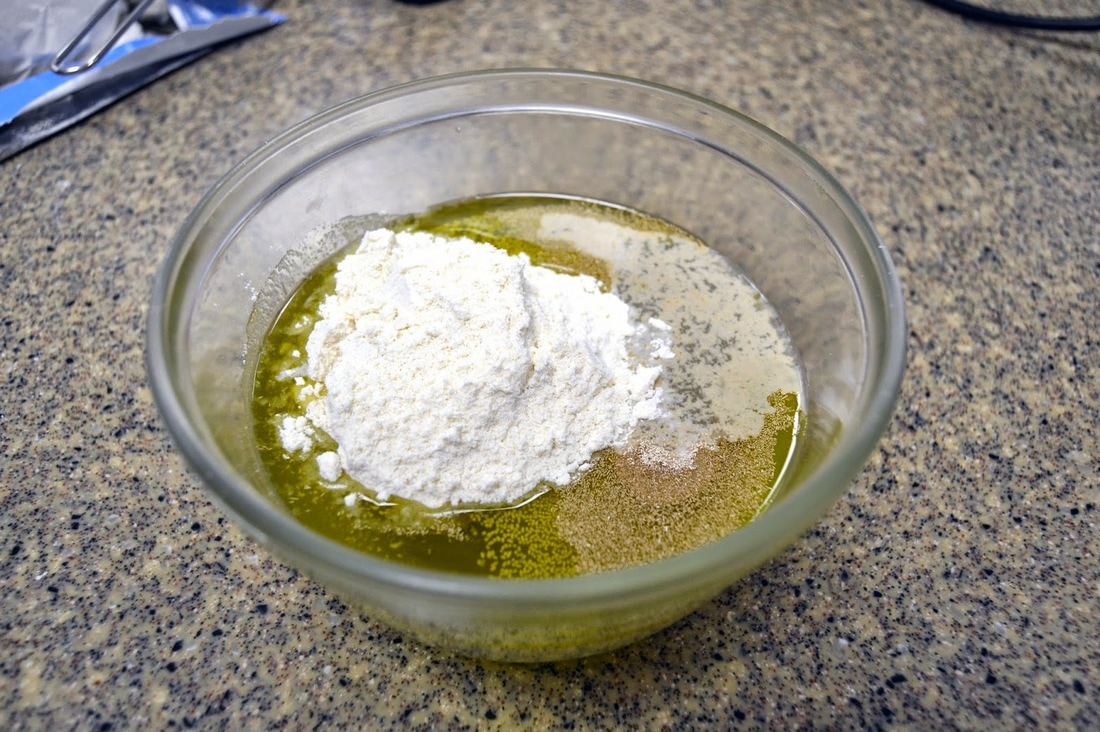
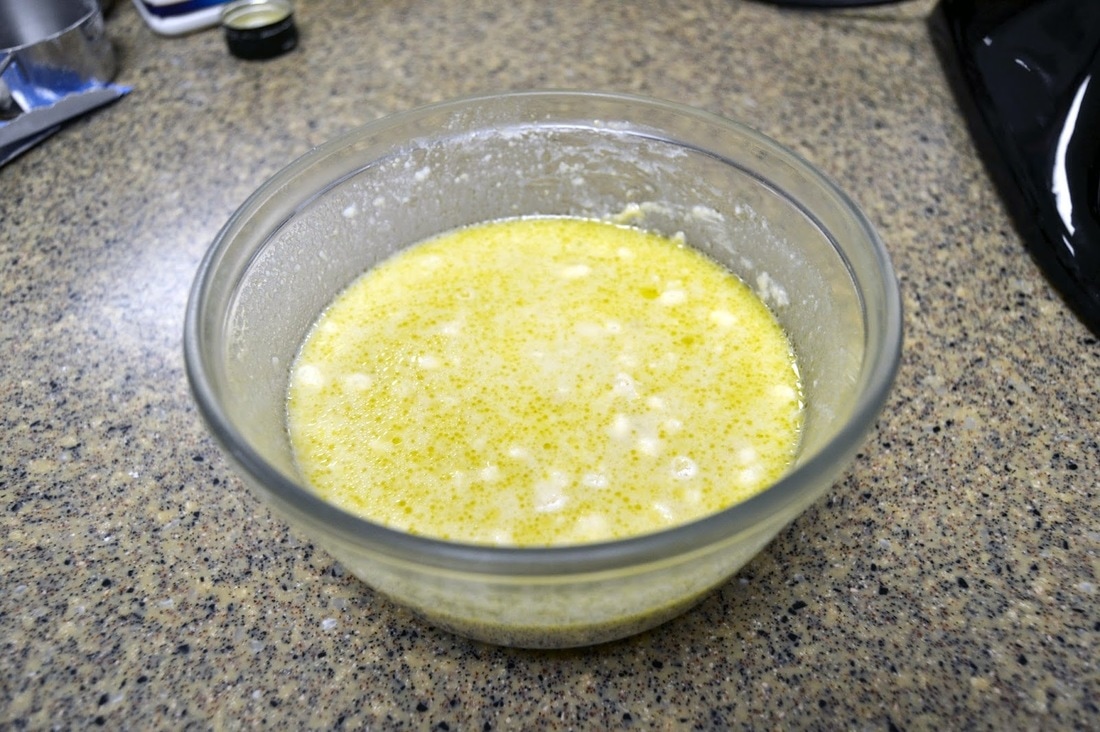
Place the warm water, olive oil, yeast and about 1/2 cup of the dry mixture into a small bowl.
Stir to combine; a few lumps are okay.
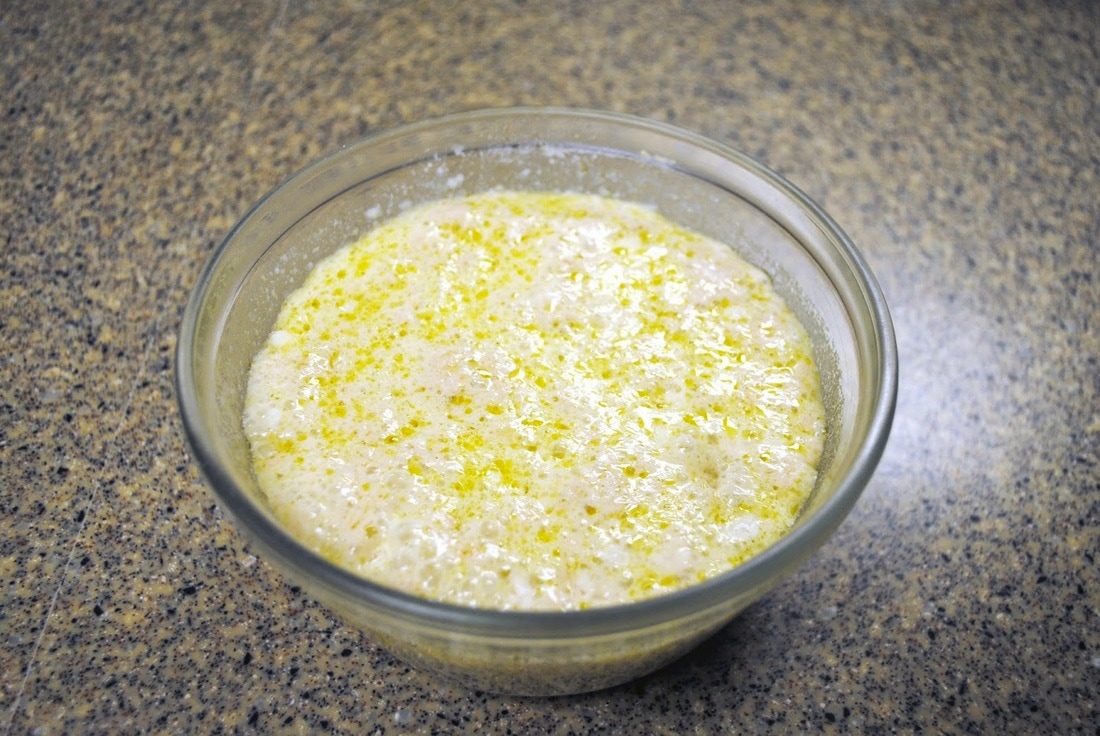
et aside for 30 minutes or so, until the mixture is bubbly and smells yeasty.
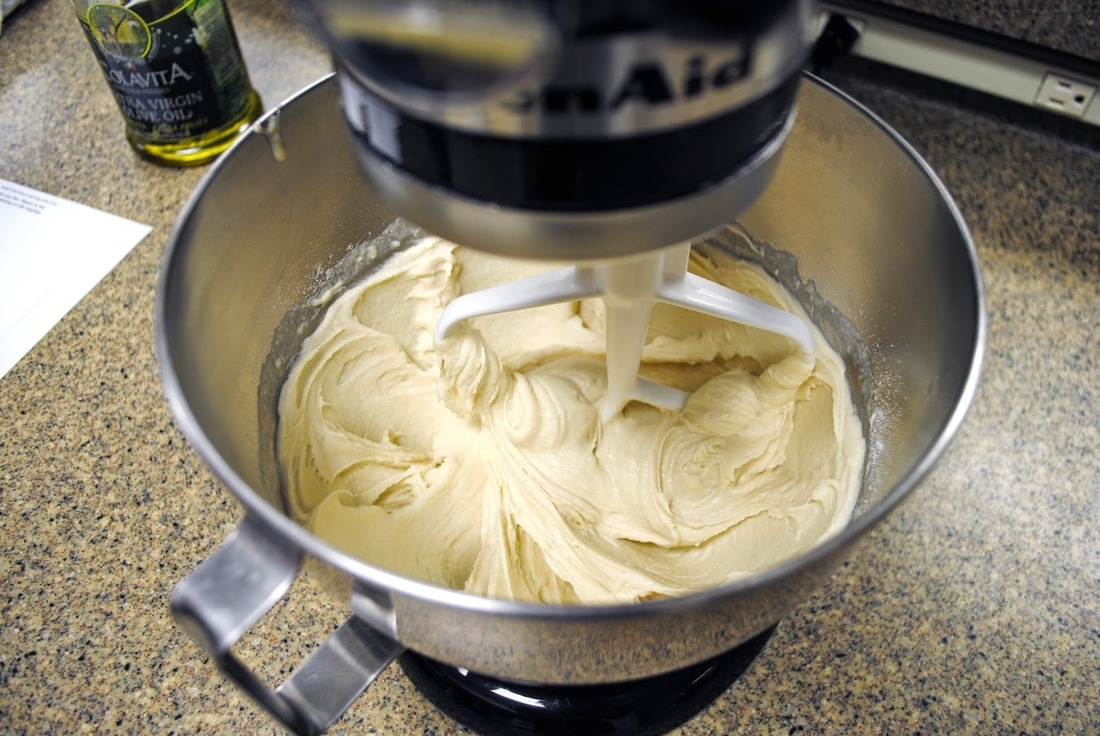
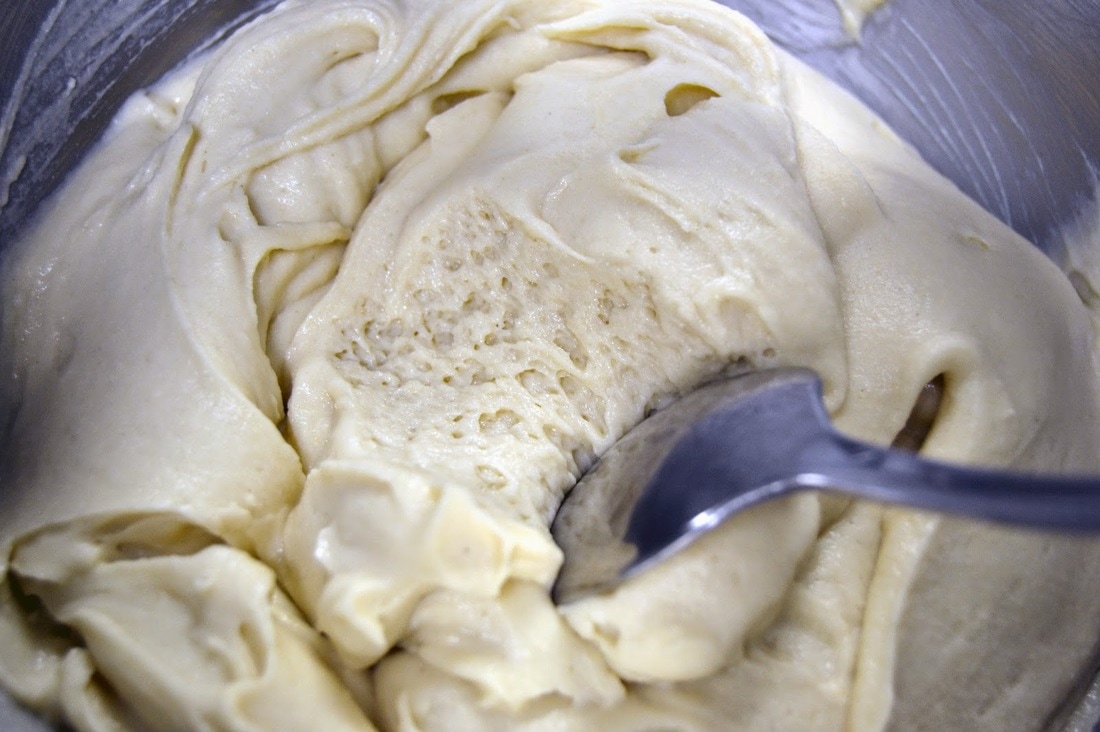
Add the wet mixture to the dry ingredients in the mixing bowl. Beat on medium-high speed for 4 minutes. The mixture will be thick and sticky.
If you have ever applied spackling compound to a wall, that’s exactly what it will look and feel like! We’re sure the dough tastes better, though!! Cover the bowl and let it rest for 30 minutes or so. Preheat the oven to 425 degrees. We used a pizza stone, so put that in the oven if using.
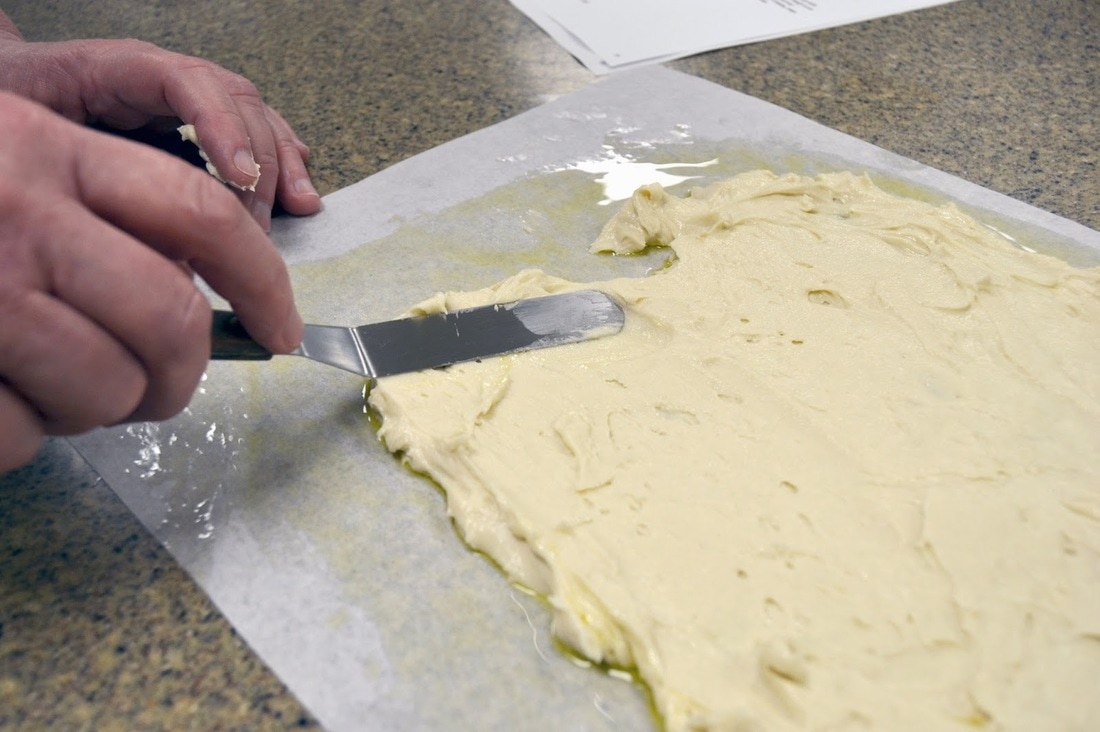
We made the pizza crust two different ways: one on parchment paper on a pizza stone and one in a cast iron skillet. The photos and directions for the cast iron method will immediately follow the recipe below. Drizzle about 2 tablespoons of olive oil on a sheet of parchment paper. Scrape the dough from the bowl onto the puddle of oil. King Arthur recommends using wet fingers to work the dough, but we found using an offset spatula worked best.
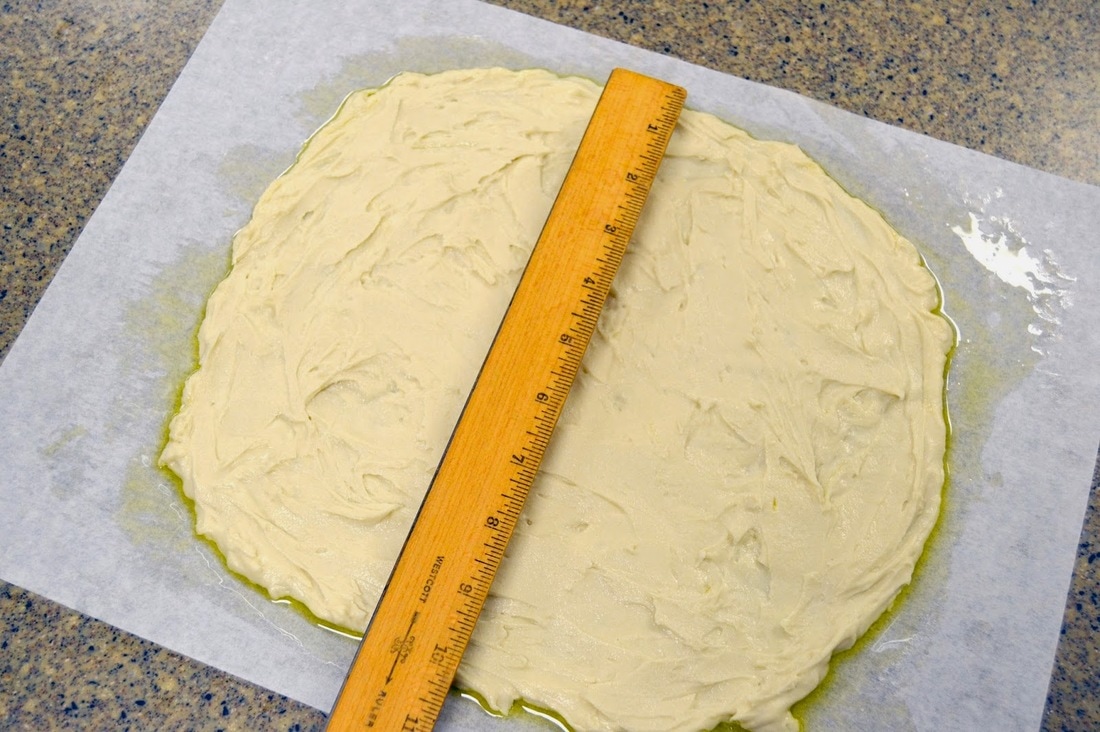
Work the dough outwards to form a 12″ to 14″ crust. Let the dough rest uncovered for 15 minutes.
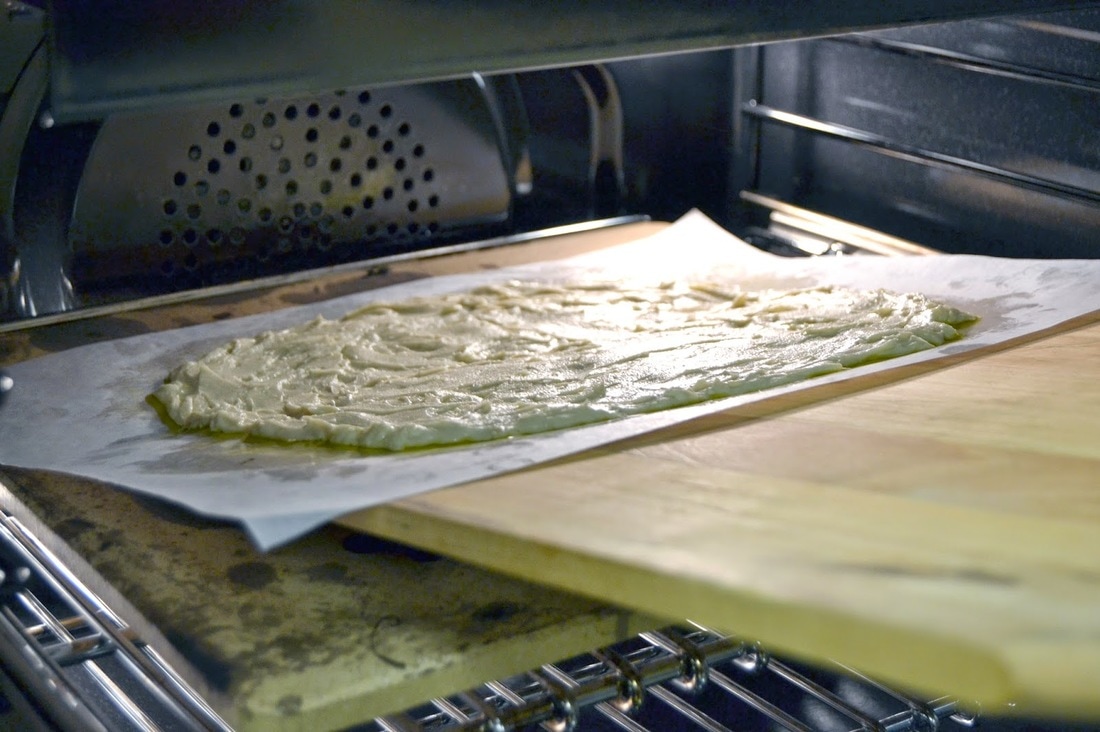
Slide the parchment with the crust onto the preheated pizza stone. If you do not have a pizza stone, slide the parchment onto a cookie sheet and put it in the oven. Bake the crust for 8-10 minutes, just until it is set.
The surface will look opaque rather than shiny. Once the crust is cool, at this point if you are making a couple crusts, you would wrap them well and freeze them.
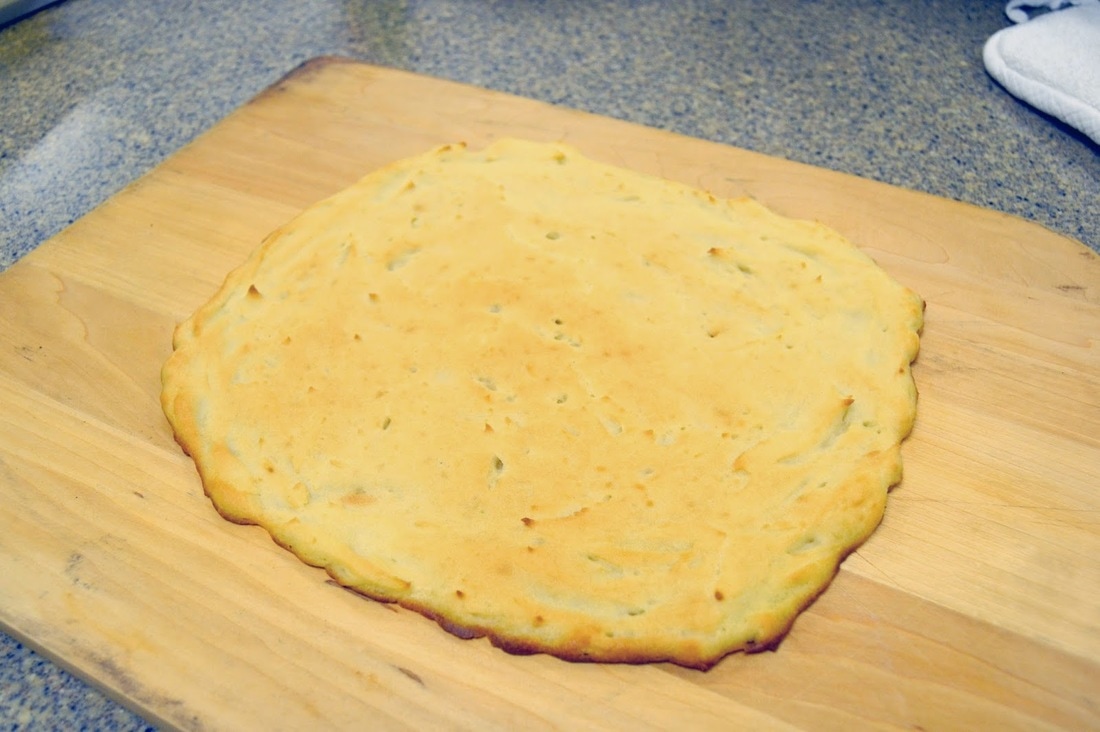
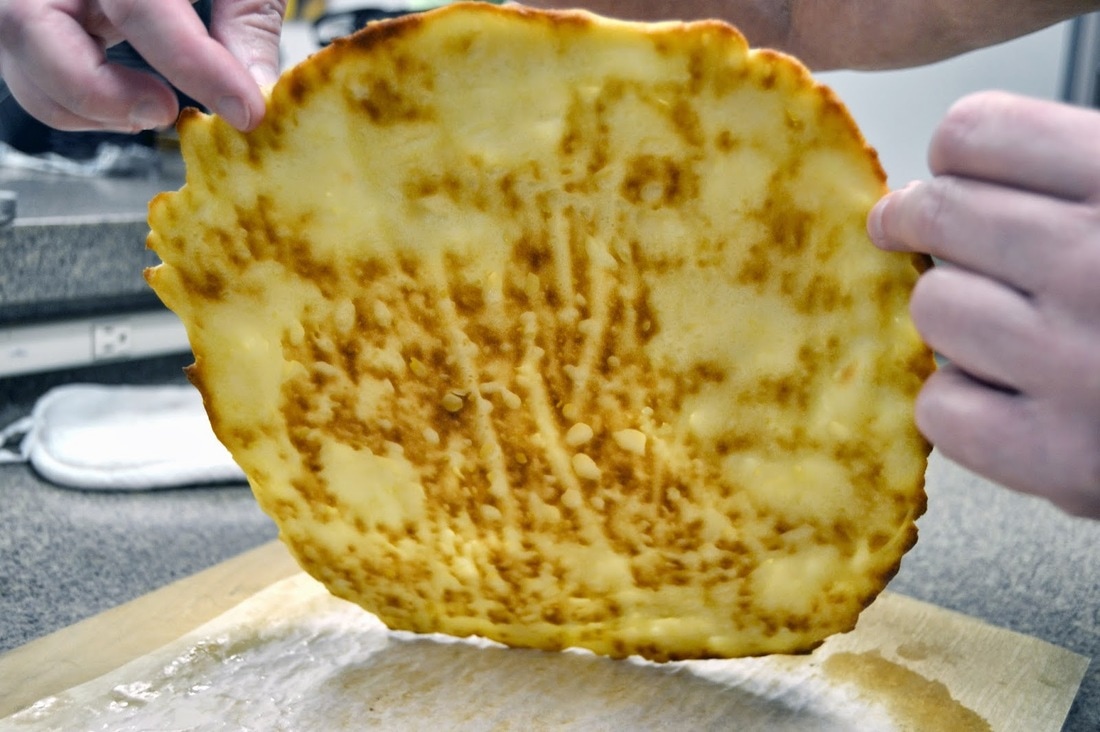
When the crust was cool enough to handle, we picked it up just to show you the back side. It is nicely browned.
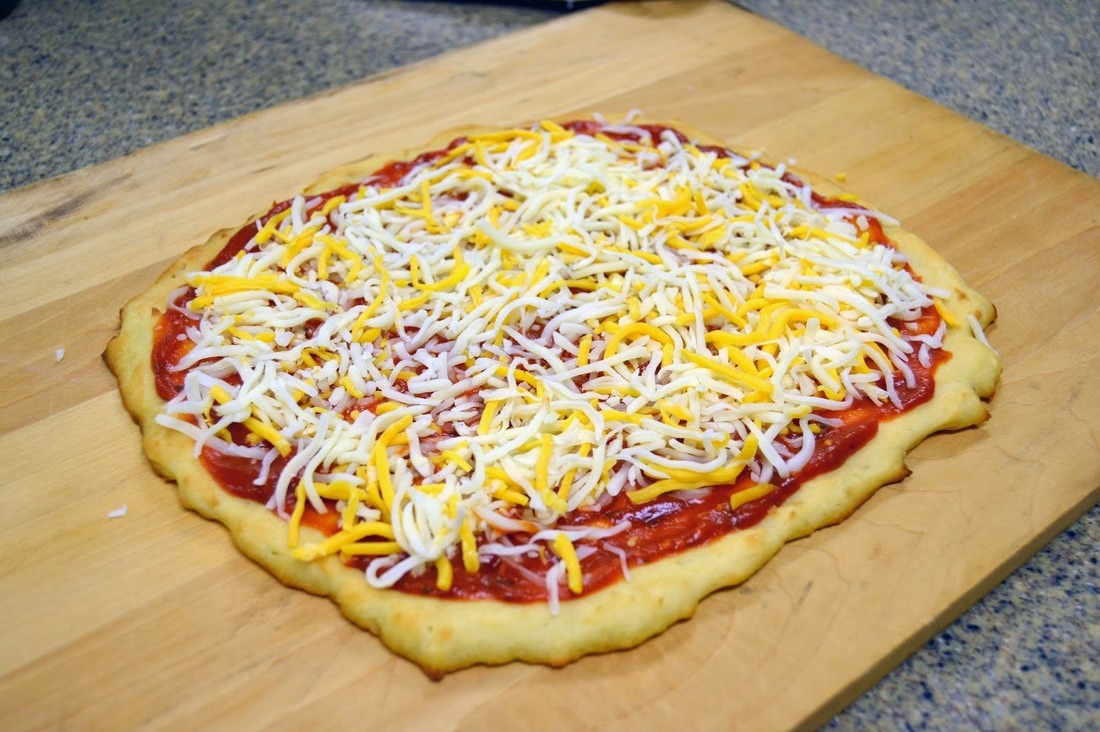
Top with whatever you like. Don’t overload the crust with toppings – this will result in a soggy pizza. We used a cheese blend that included mozzarella, provolone and cheddar. Use your favorite brand of pizza sauce or use your own homemade sauce.
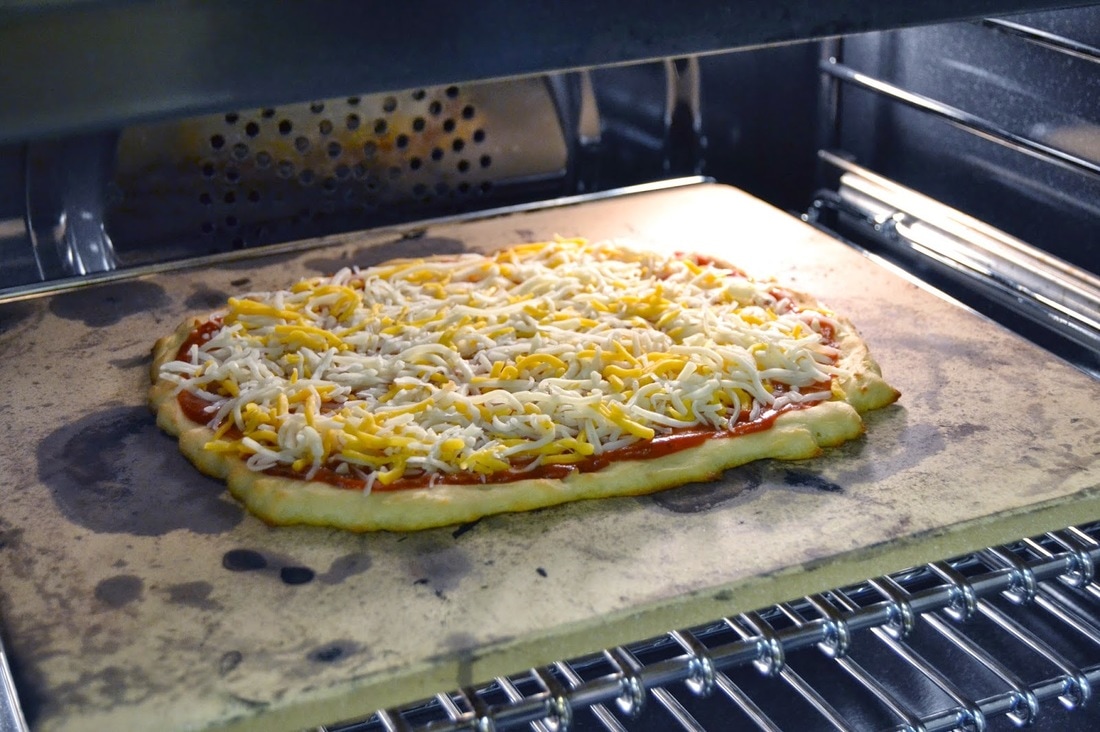
Return the pizza to the oven to finish baking. It will take 15 – 18 minutes depending on the toppings you have chosen.
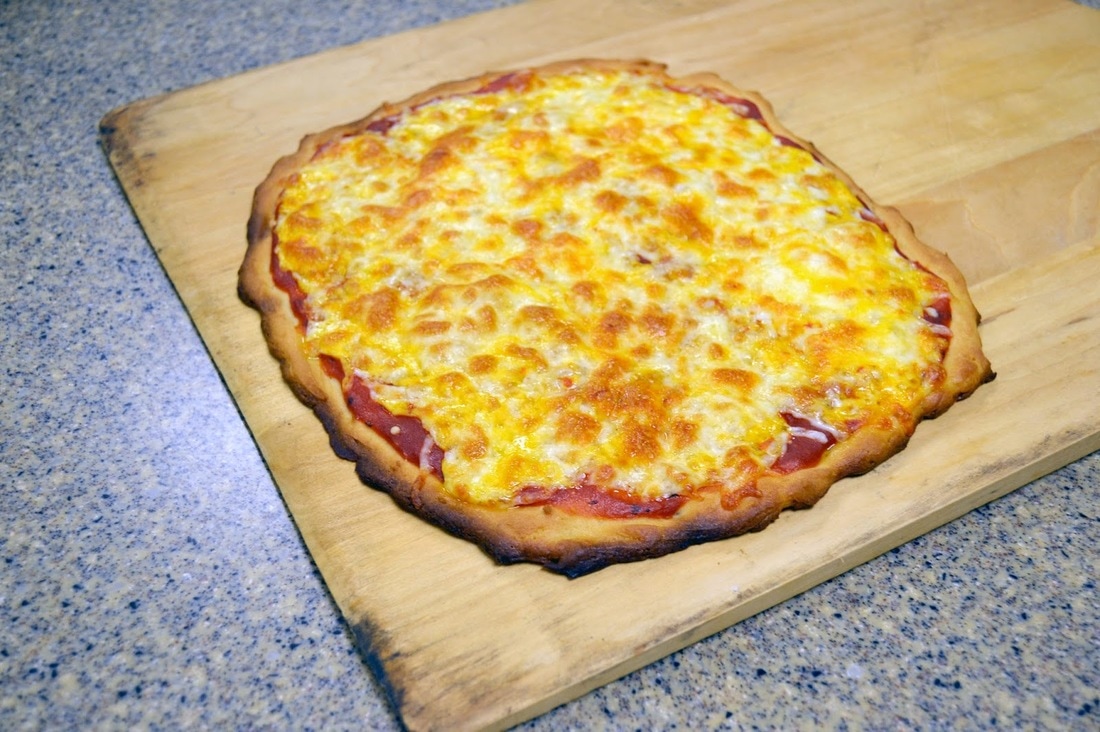
If you like your cheese bubbly hot and a little charred, turn on the broiler for the last couple minutes. Watch it closely! It can go from perfect to burned in seconds!
Gluten-Free Pizza Crust(recipe from King Arthur Flour)
1 1/2 cups King Arthur Gluten-Free Multi-Purpose flour
2 tablespoons buttermilk or nonfat dry milk powder
1 tablespoon sugar or honey
1 teaspoon baking powder
3/4 teaspoon salt
1 teaspoon xanthan gum
1 1/2 teaspoons instant yeast
1 cup warm water
2 tablespoons olive oil (for dough)
2 tablespoons olive oil (parchment or pan)
Place the dry ingredients (except yeast) into a large mixing bowl; the bowl of your stand mixer is perfect. Mix until thoroughly blended.
Place the warm water, olive oil, yeast and about 1/2 cup of the dry mixture into a small bowl. Stir to combine; a few lumps are OK. Set aside for 30 minutes or so, until the mixture is bubbly and smells yeasty.
Add this mixture to the dry ingredients, and beat on medium-high speed for 4 minutes. The mixture will be thick and sticky; if you’ve ever applied spackling compound to a wall, that’s exactly what it’ll look and feel like. Note: you must use a stand mixer or electric hand mixer to make this dough; mixing by hand doesn’t do a thorough enough job.
Cover the bowl, and let the dough rest for 30 minutes or so.
Preheat the oven to 425 degrees.
Drizzle 2 tablespoons olive oil onto the center of a baking sheet or 12″ round pizza pan. Scrape the dough from the bowl onto the puddle of oil.
Using wet fingers, start at the center of the dough and work outwards, pressing it into a 12″ to 14″ circle.
Let the dough rest, uncovered, for 15 minutes.
Bake the crust for 8 to 10 minutes, just until it’s set; the surface will look opaque, rather than shiny.
Remove from the oven and top with whatever you like. Return to the oven to finish baking, about 10 to 15 minutes depending on the toppings you’ve chosen.
Remove from the oven and serve warm.
Yield: one 12″ to 14″ pizza.
Directions for baking in a cast iron skillet(The Cooking School at Jungle Jim’s)
We wondered if the crust would be crispier if we baked it in a cast iron skillet. The result was a crispy crust similar to the one we baked on parchment paper on top of a pizza stone. Using a cast iron skillet would be a good alternative if you don’t own a pizza stone.
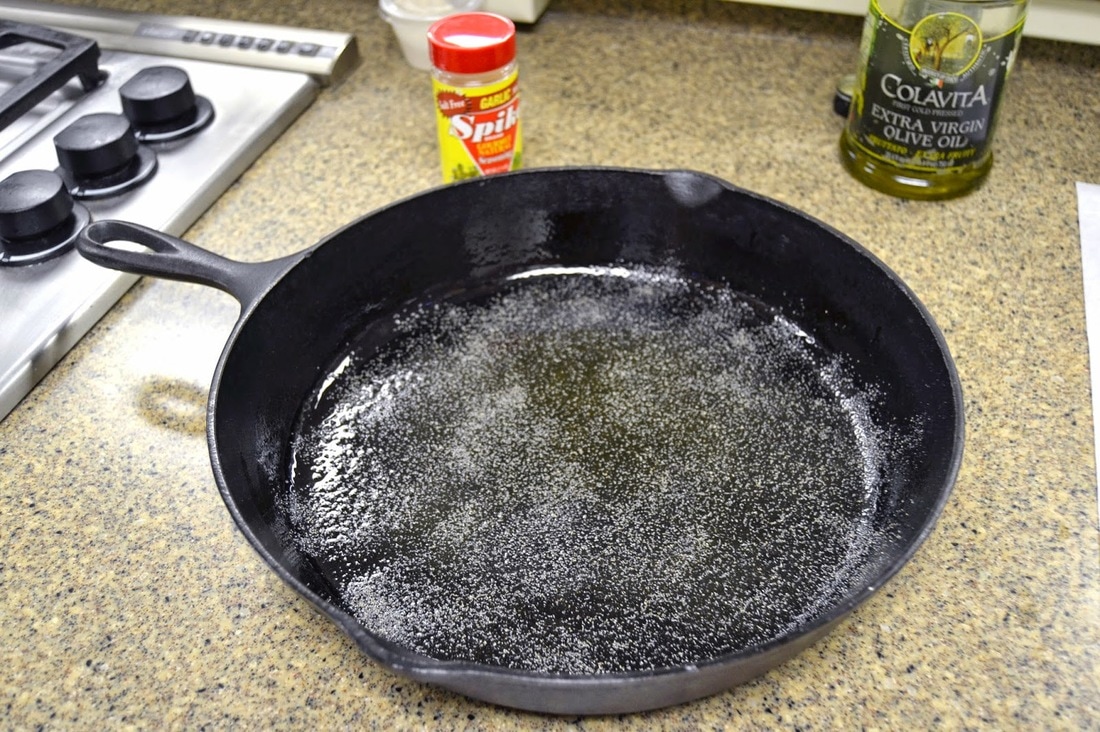
Put a tablespoon or 2 of olive oil in the 12″ skillet. We sprinkled some Spike seasoning for a garlic-y tasting crust.
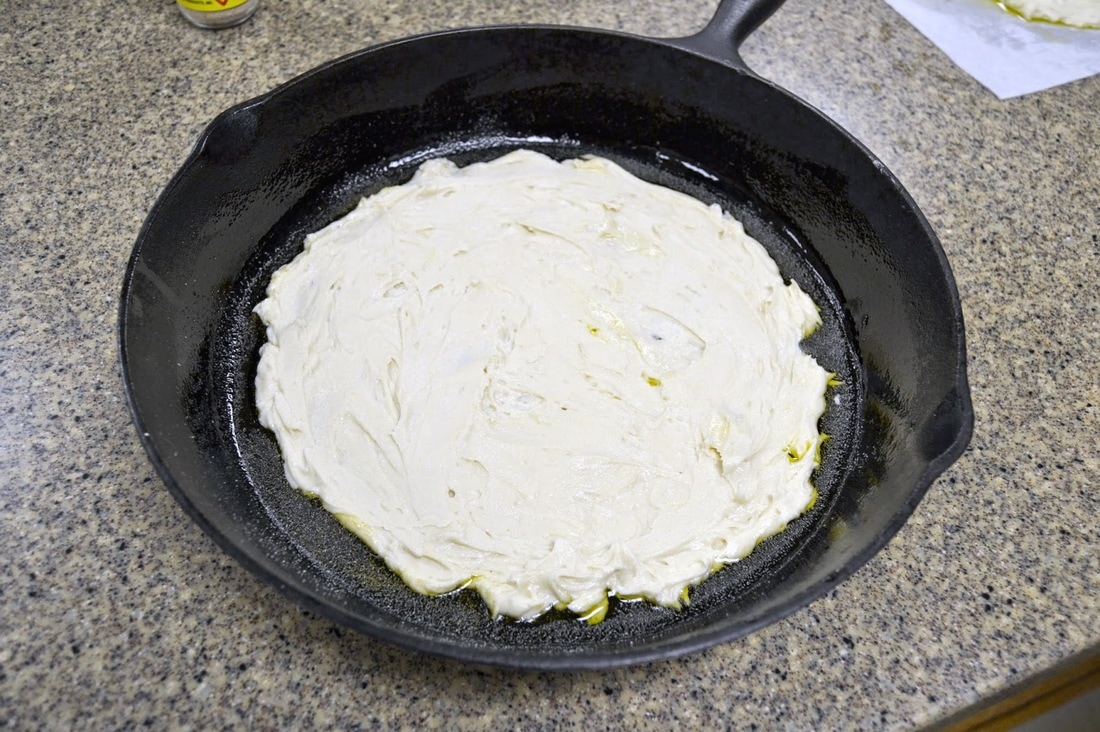
Scrape the dough into the prepared skillet and using wet fingers or an offset spatula, press the dough outwards to form a 10″ or so circle. Let the dough rest, uncovered, in the skillet for 15 minutes.
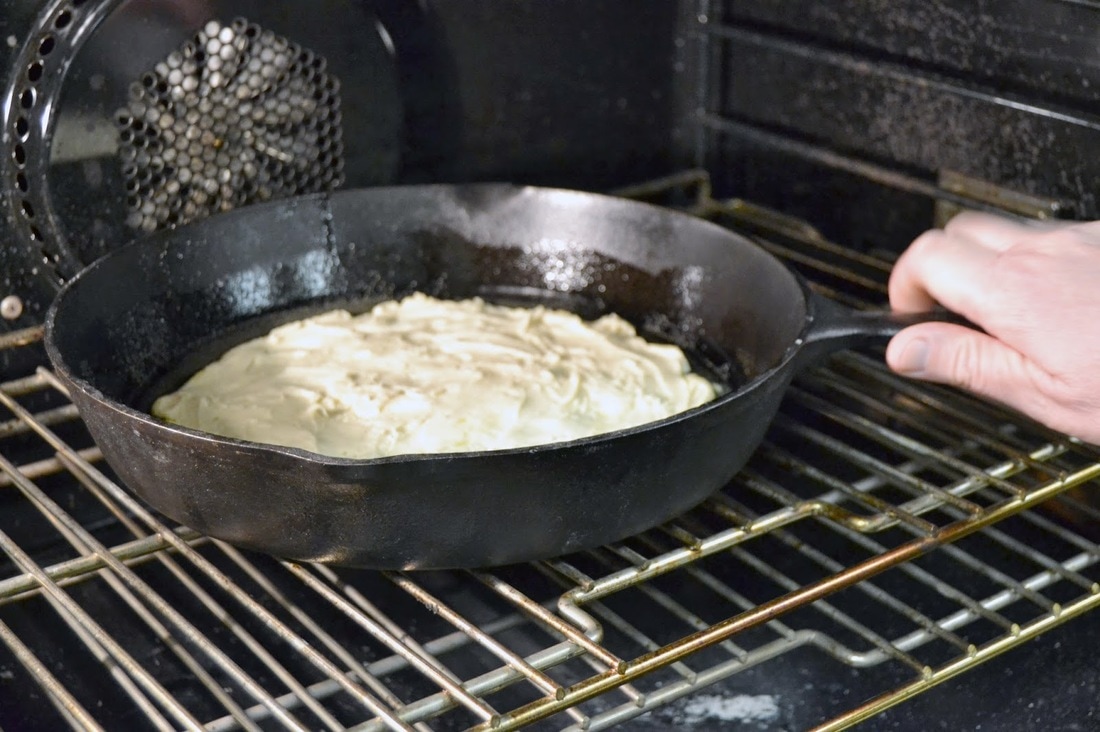
Place the skillet into the preheated 425 degree oven.
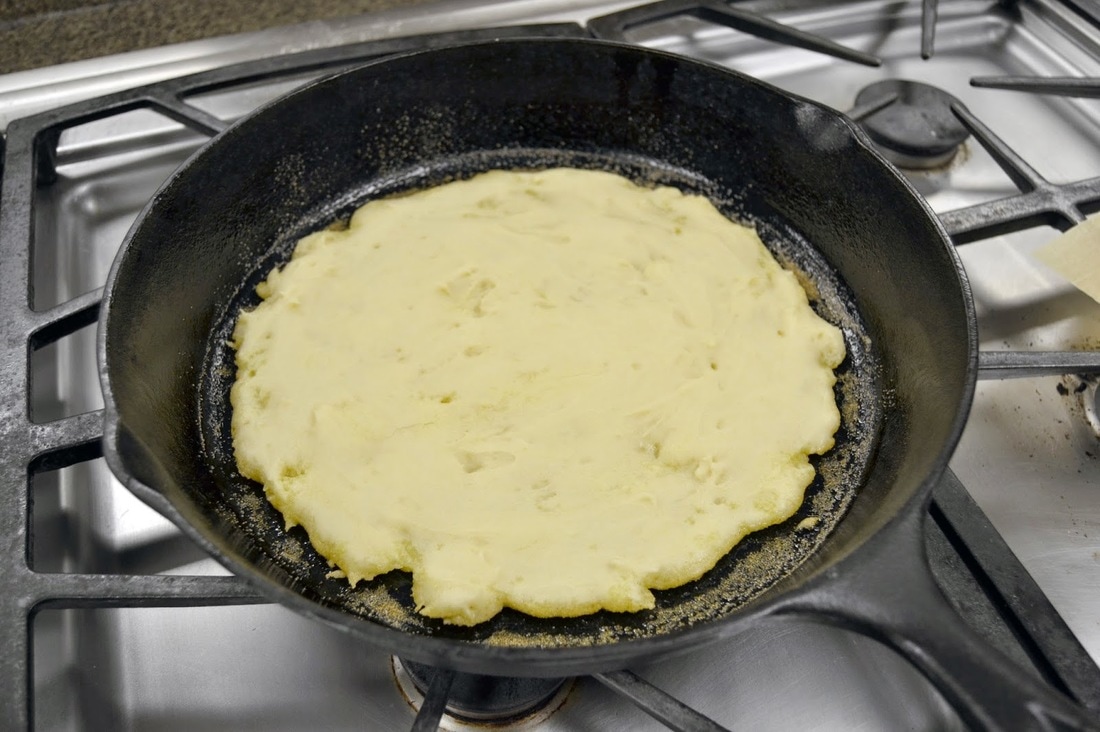
Bake for 8 to 10 minutes. The crust will look opaque rather than shiny.
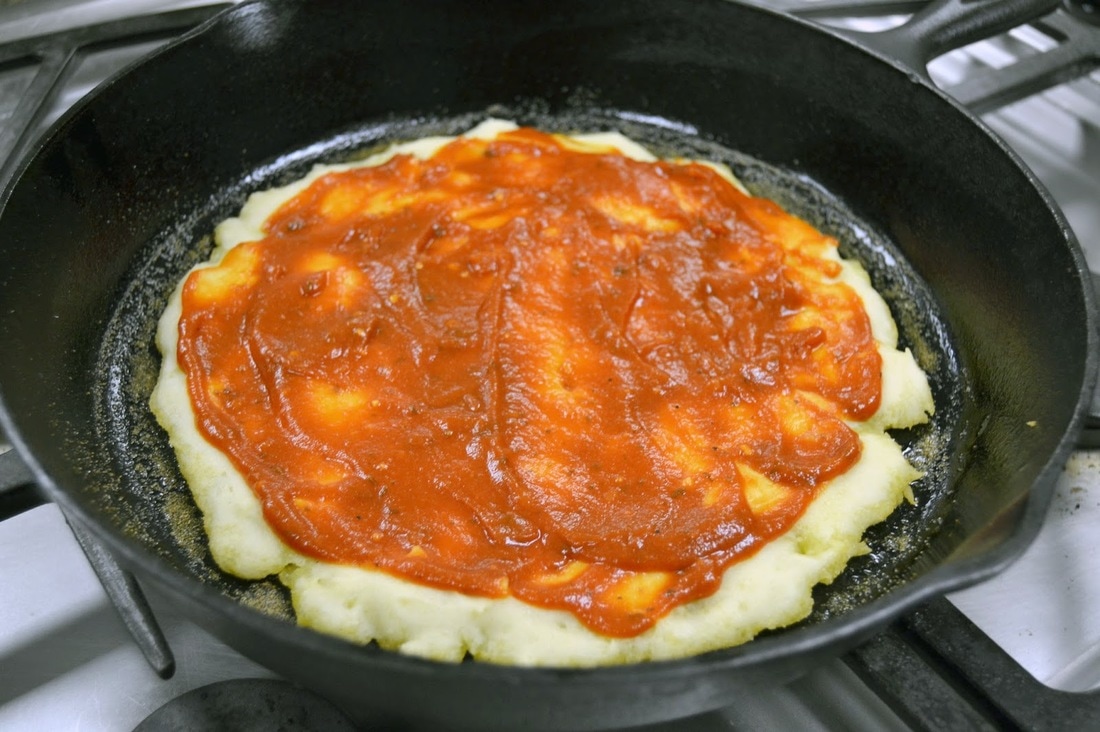
Slather on your favorite pizza sauce.
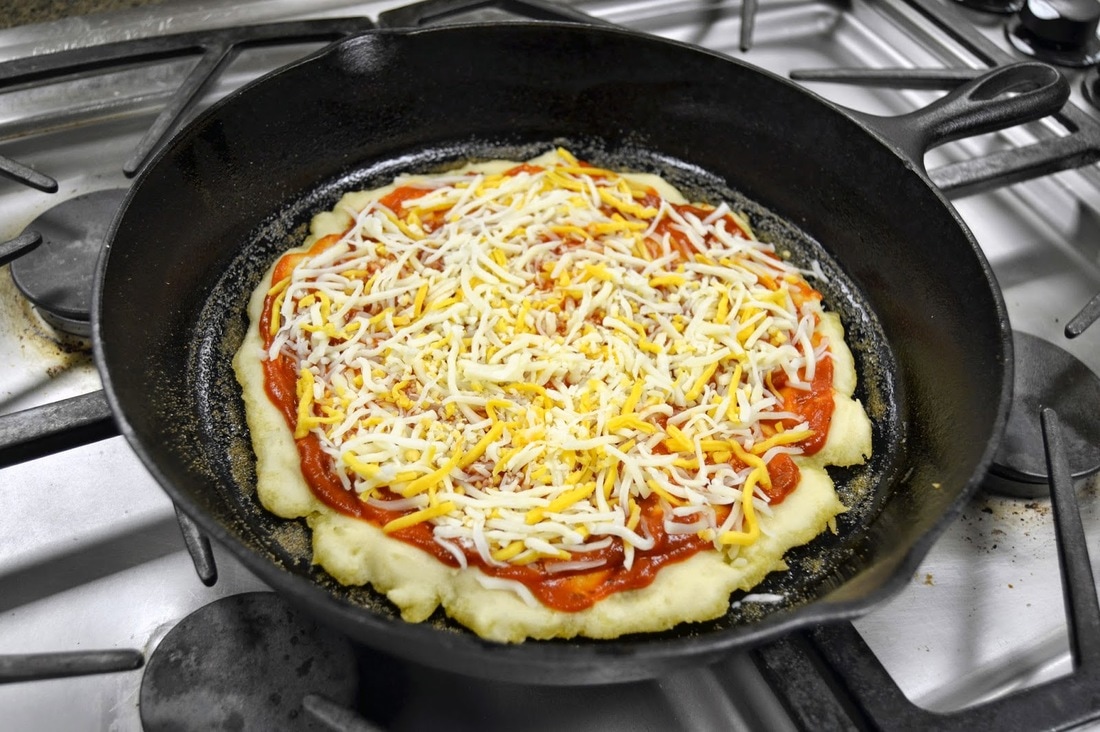
Sprinkle with your favorite cheese blend.
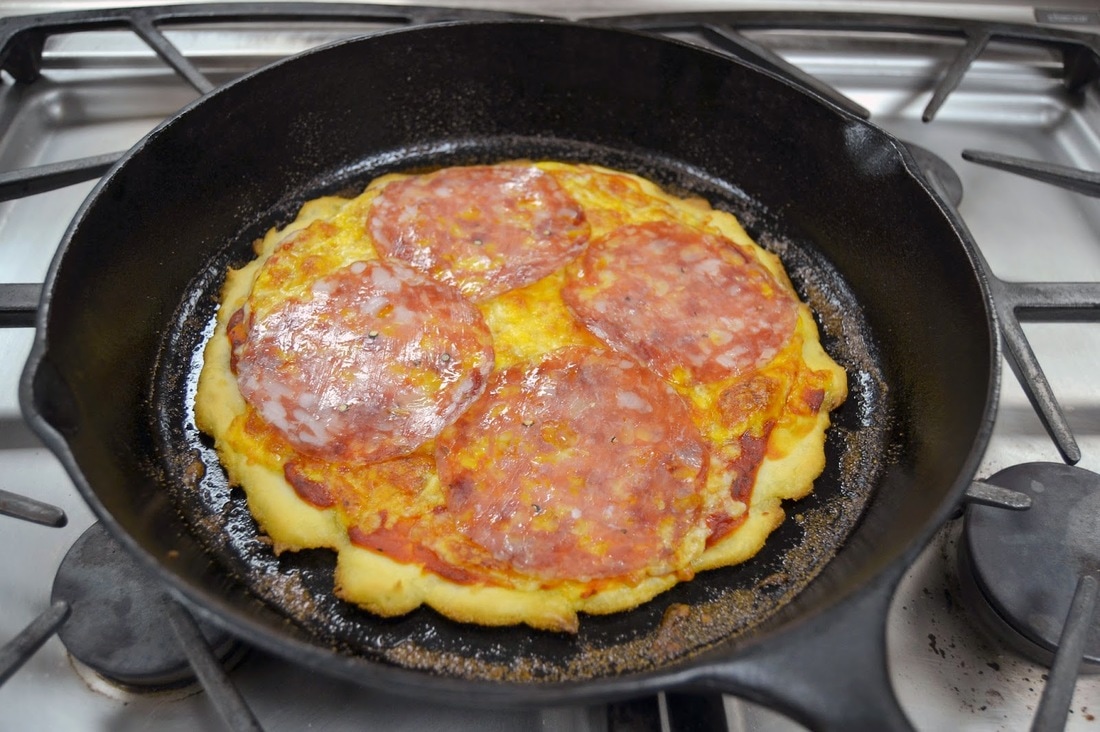
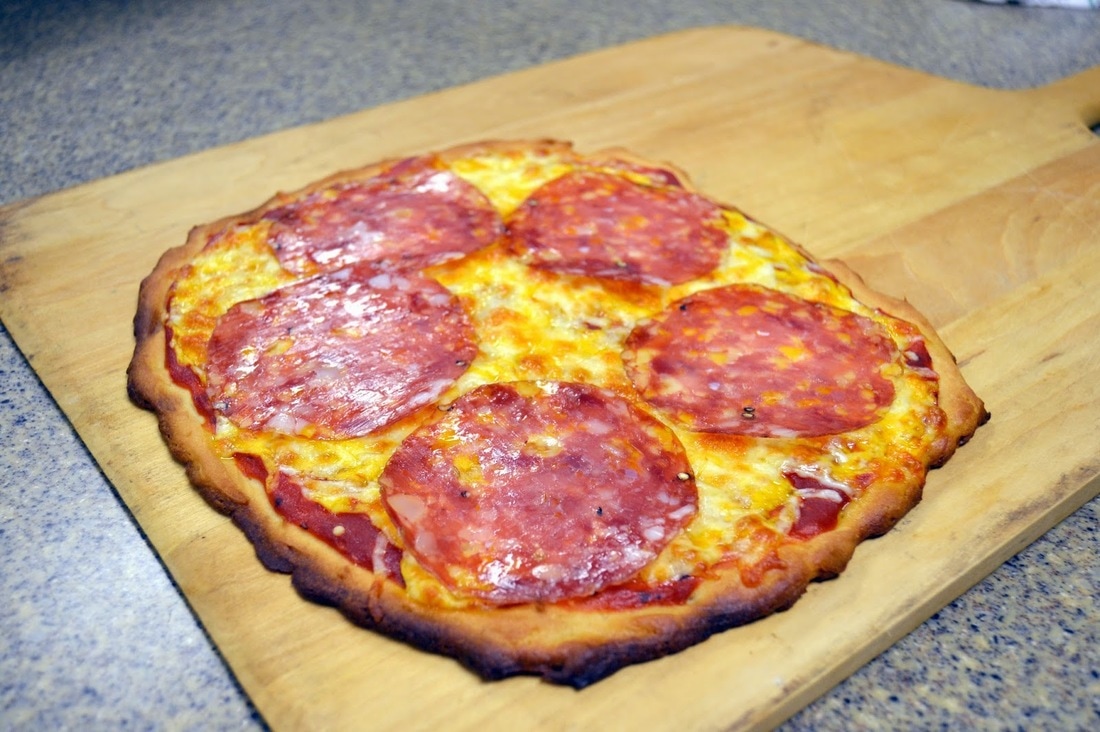
Return the pizza to the oven to finish baking, about 10 to 15 minutes depending on the toppings and how brown you like the crust. We topped our skillet pizza with paper thin slices of a delicious Italian salami called finocchiona. You can purchase finocchiona in the charcuterie department. Add the finocchiona after the pizza comes out of the oven. It just melts right on to the pizza!
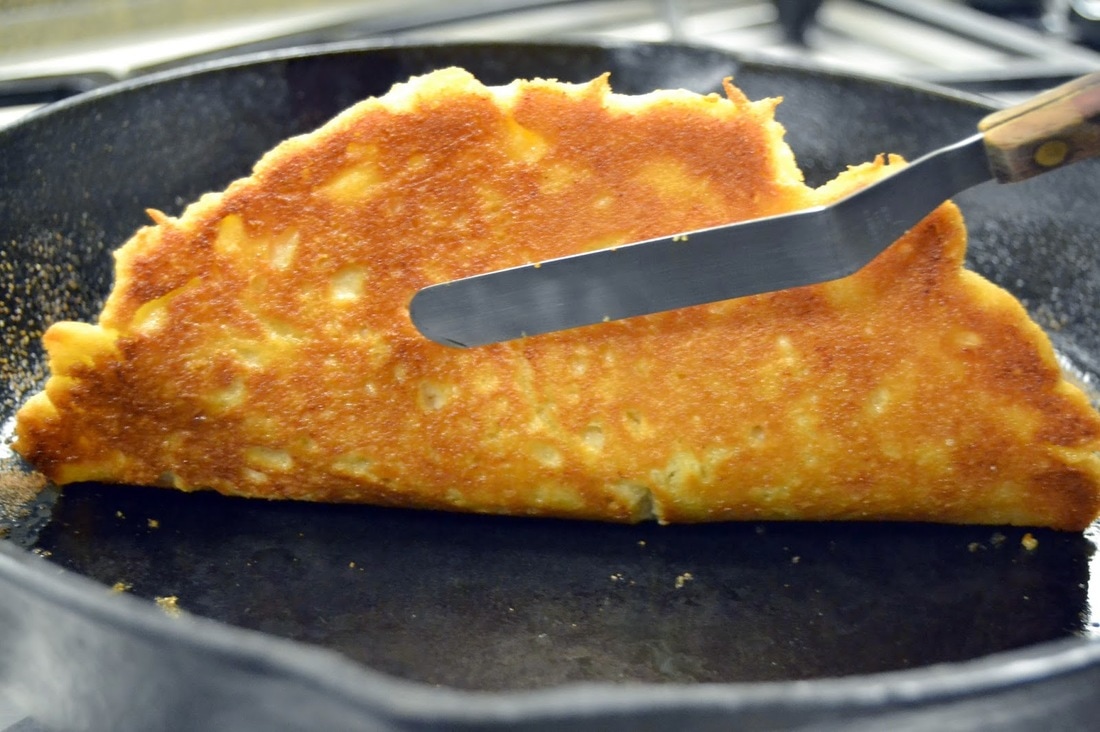
We lifted the crust just to show you how nicely browned and crispy it is.
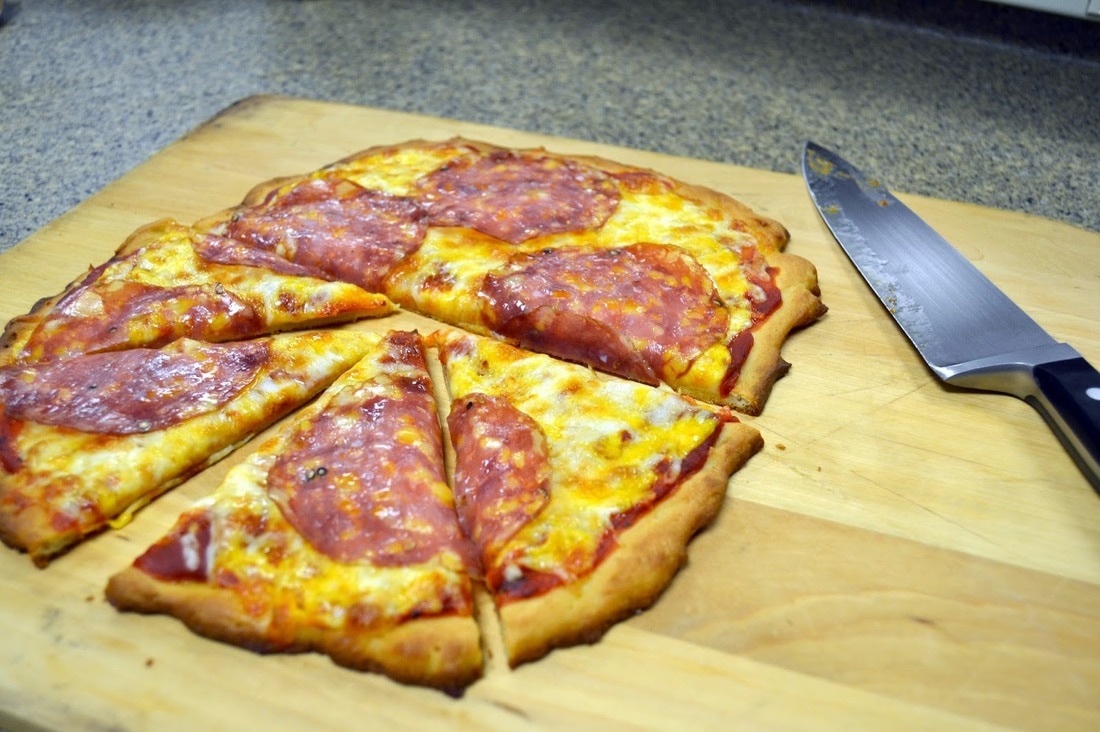
Allow the pizza to rest a couple minutes. Then slice and enjoy!
We were all surprised at how much we enjoyed this pizza. Not knowing what to expect and having experienced some not-so-good gluten-free products in the past, this pizza was really tasty. If you are on a gluten-free diet, this pizza is worth the effort. You’ll satisfy your craving for pizza!
Want to join us for a class in the Cooking School? Get all the information you need here!