It’s that time, friends! Here’s how our homebrew went.
A few weeks ago we outlined everything we’d acquired for the undertaking, so on a sunny Monday afternoon, we loaded it all into our cars and drove off-site to set up our one-pot brewery. We had to leave Jungle Jim’s International Market, where we work from, because of some law that would’ve made us bootleggers if we’d brewed in the store. Personally, I think that’d be pretty cool, but apparently it was a “legal issue”, so off we went!
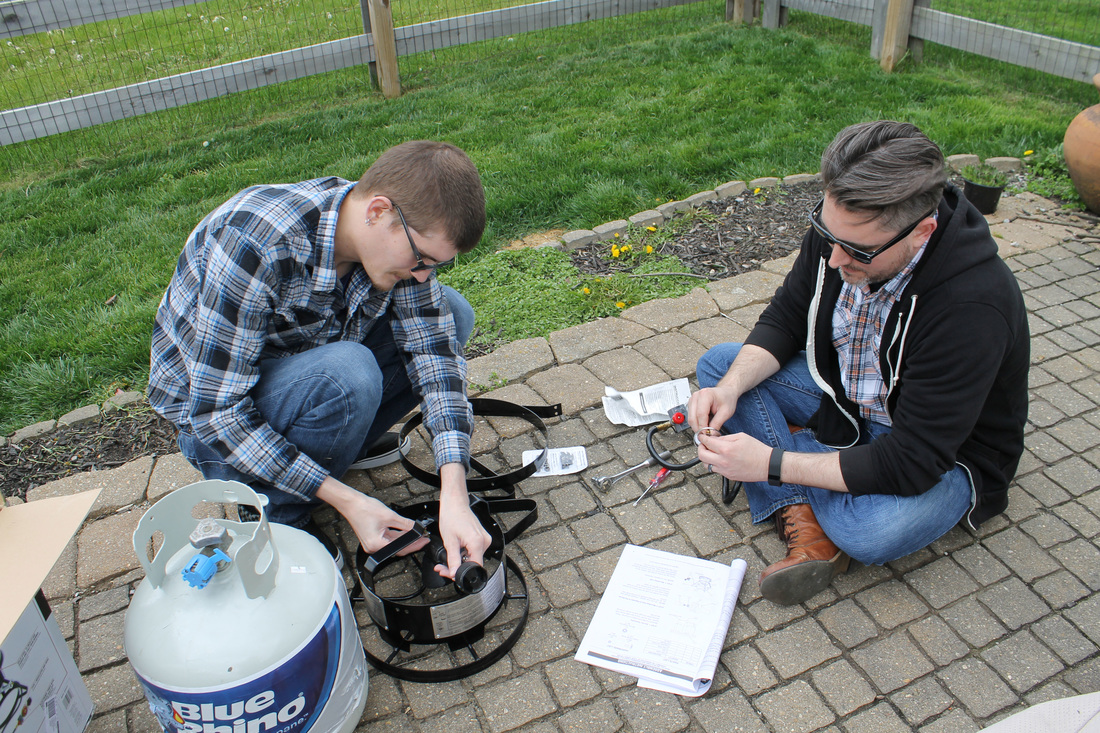
We brewed at a coworker’s home, and since he has a baby girl (who is adorable) and a wife who isn’t keen on the scent of beer while it’s brewing, we set up outside. We used a gas burner that was originally designed for deep frying turkey, and so our first step of the afternoon was setting it up.
This was a pain, and it took a while to figure it out (I very helpfully snapped lots of photos while Matt [left] and Jason [right] did all the work).
Once the burner was up and running, we used our cleaning solution (remember, we mentioned it in our first homebrewing post) to sterilize the pot, and then we added 2.5 gallons of water and started bringing it to a boil.
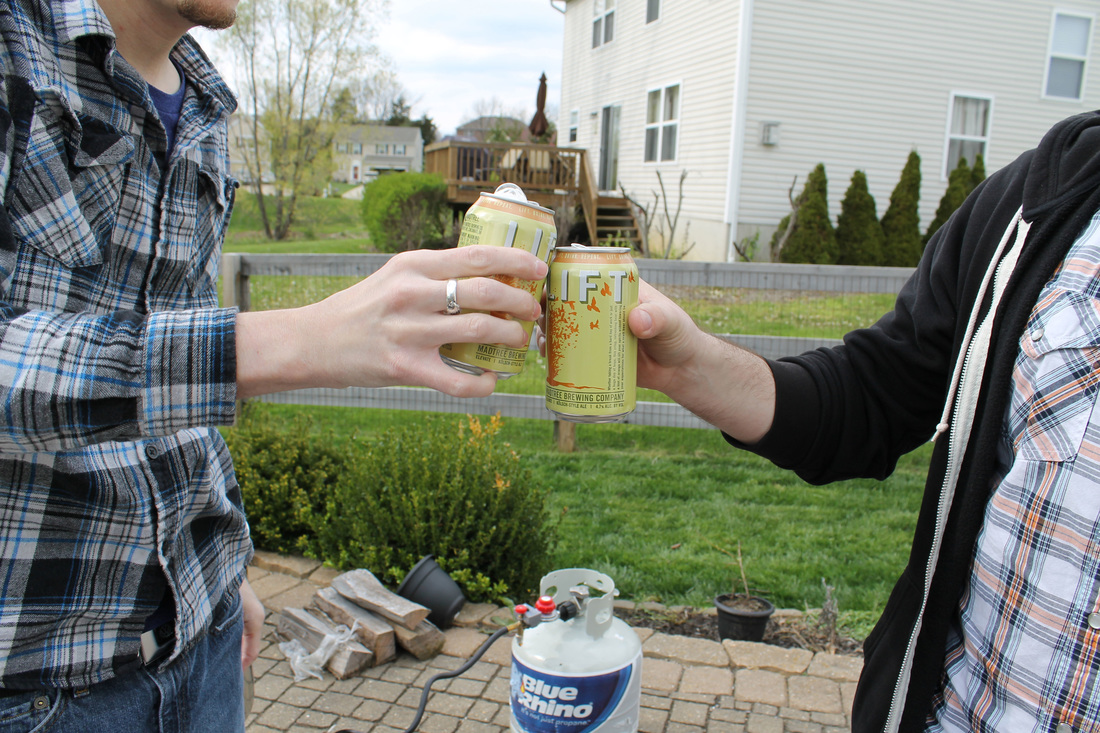
Then we backtracked to what Matt referred to as “Homebrewing Step #1”, and cracked open a beer. Because apparently that is what you do. Hey, who was I to argue?
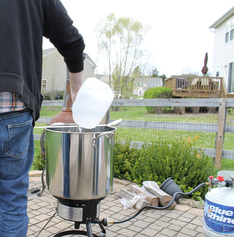
As we sipped, the water came to a boil, and when it did, we added in our grains (we’re still going to be baking something with them, too, just wait!). First, the grains had to be transferred from their plastic bag home into a long sock-shaped cloth sleeve, which was tied off at the top and then placed in the pot to simmer.
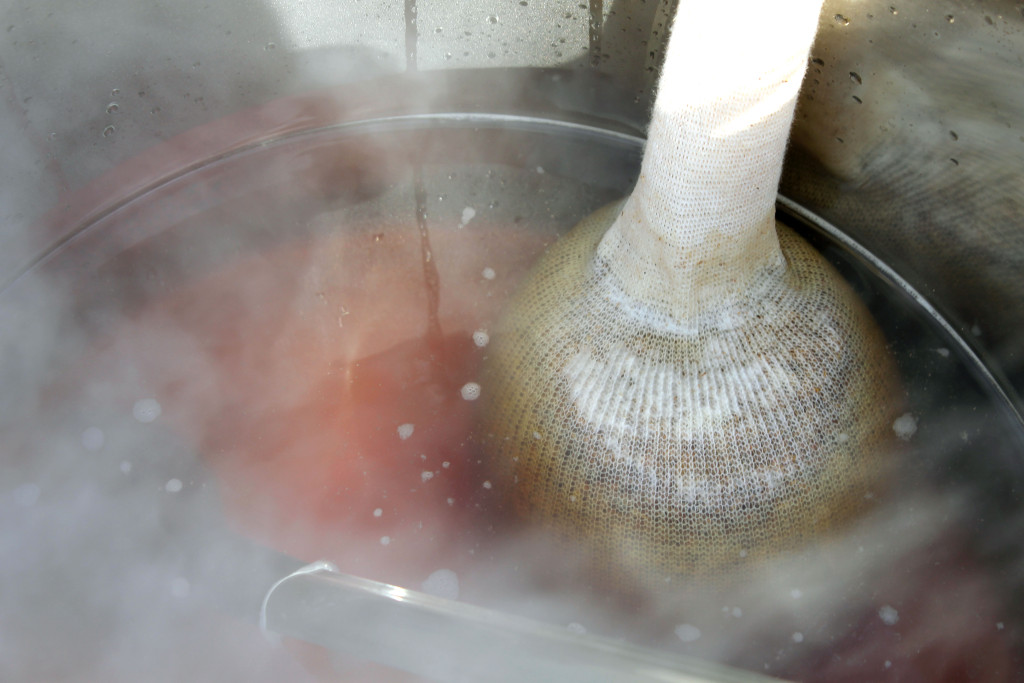
That brewed for the prescribed amount of time (and it smelled great, I’m not sure why some people don’t like it), before it was removed and we added our liquid malt extract and powdered malt extract, in that order. To make sure the liquid malt would pour, we let it sit in a sinkful of hot water in order to soften the crystals that can sometimes form. We poured it in, followed by the powdered malt. The powdered malt is best poured into the kettle from a bowl and not the plastic bag it comes in, otherwise the steam with start to crystallize it on the edges of the bag.
Note: We took the picture of the powdered malt being poured into the kettle from above, and due to our desire to take a good photo, the wind stuck all of the malt to the side of the kettle. So if you’re brewing outdoors as we did, lower the bowl as far as possible before dumping.
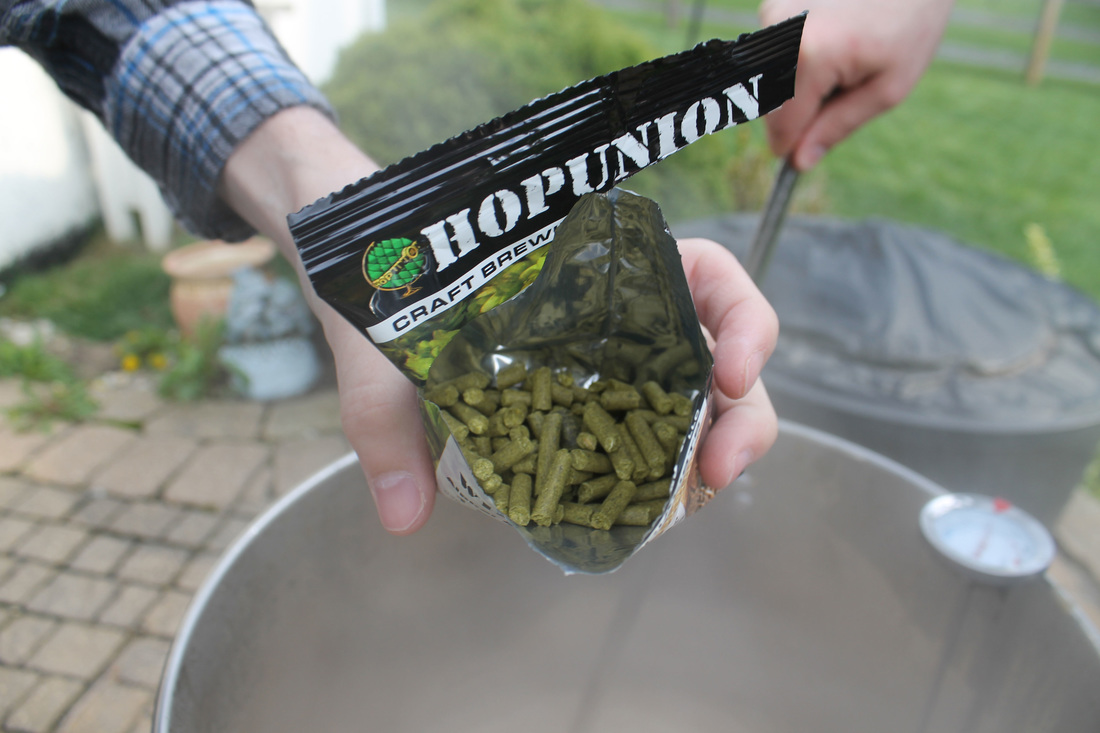
Next, in went the hops.
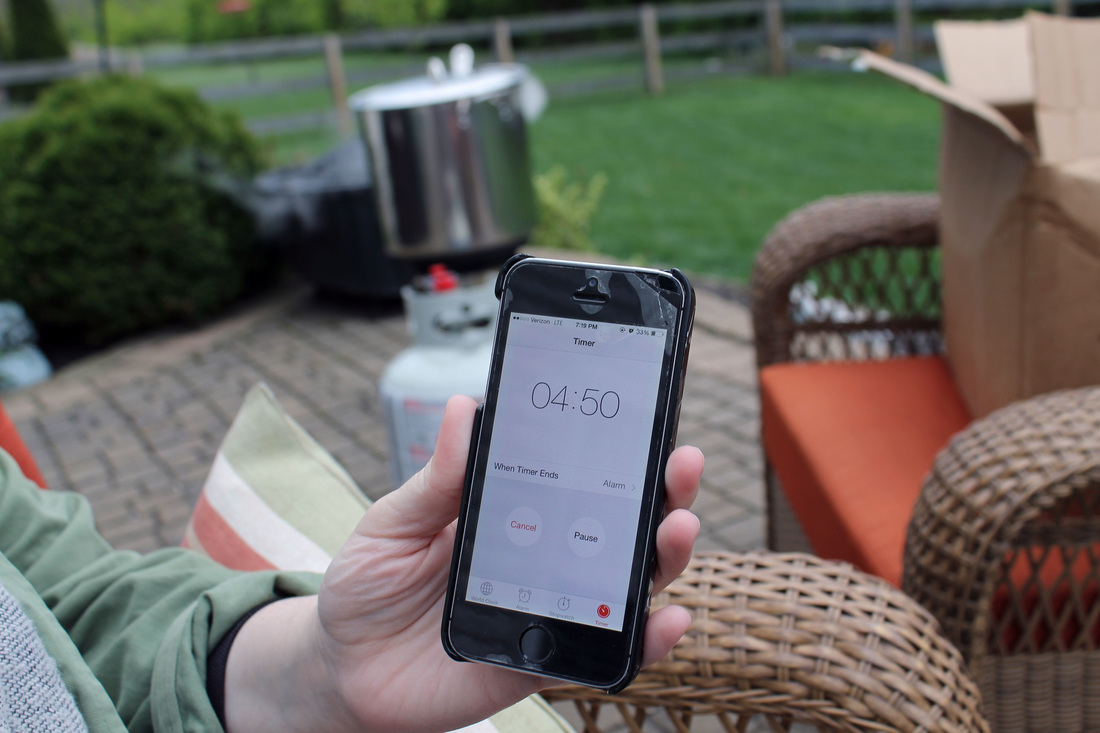
And then we waited around some more.
Featured: My cracked phone.
We sanitized the bucket that our beer is now fermenting in, before we added the rest of our hops. Our beer had to brew for five more minutes (we were getting very cold at this point, something to note if you’re brewing outdoors), and then we dunked the kettle into a tub of ice and water to bring it down to 70 degrees.
When it hit the desired temperature, we poured the beer into our fermenting barrel and took the whole lot indoors. Finally, we added the last 2.5 gallons of water, poured in the yeast and snapped on the barrel’s lid before cleaning up and stashing the barrel away in Jason’s basement.
All in all, it was an interesting, complicated, persnickety experience. As a group, I think we’d recommend brewing indoors if you can, in order to better control temperature fluctuations.
But in a few weeks, we’ll be bottling our beer, and then we’ll give it a try and let you know how it goes!